| Oracle® Warehouse Builder Installation and Administration Guide 11g Release 2 (11.2) E17130-08 |
|
|
PDF · Mobi · ePub |
| Oracle® Warehouse Builder Installation and Administration Guide 11g Release 2 (11.2) E17130-08 |
|
|
PDF · Mobi · ePub |
This section describes how to use snapshots to manage metadata. Snapshots in Oracle Warehouse Builder enable you to capture point-in-time versions of the metadata definitions of the design objects you create in the Project Navigator. You can capture all design objects in a project, or you can selectively choose objects to include in a snapshot.
This section includes the following topics:
Because snapshots and the Metadata Loader have overlapping capabilities, it may not be readily apparent when to use one and not the other. In general, snapshots address the needs of a development team for tracking changes to an evolving design. The Metadata Loader facilitates the more traditional administrative tasks of backing up, restoring, and migrating repositories.
A key factor to understand is that snapshots and the Metadata Loader differ in the scope of objects they handle. Snapshots are limited to handling only the design objects users create in the Project Navigator. The Metadata Loader, however, handles everything in the repository. This includes all design objects and information related to location and security.
Refer to Table 11-1 for a list of important differences between the two tools.
Table 11-1 Comparison of Snapshots and Metadata Loader
| Feature | Snapshots | Metadata Loader |
|---|---|---|
|
Scope |
Captures metadata related to objects in the Project Navigator only. Captures metadata for mappings, process flows, and other design objects. Does not capture information about locations, security, and user defined objects. |
Captures all metadata related to a repository including all design objects and information about locations, security, and user defined objects. |
|
Output |
You can create a full snapshot from which to restore objects. Or you can create a signature snapshot which requires less space and enables you to track changes but not restore objects. Both types of snapshots are stored in Oracle Database. |
When exporting, the Metadata Loader creates a zip file with the extension |
|
Integration with Version Control Tools |
You can save the output as a file and then export the file into a version control tool. |
You can export MDL files into a version control tool. When using the GUI, first extract the MDL file before putting the objects into the version control system. When using the OMB Plus scripting language, set |
|
Compatibility |
Snapshots are not compatible between releases of Oracle Warehouse Builder. |
MDL files are upwards compatible with newer releases of Oracle Warehouse Builder. When you import an MDL file from a previous release, the utility automatically upgrades the metadata to the new release. |
|
Object Locking |
To restore a snapshot, the Change Manager must obtain a lock on all primary objects. Locks held within that session are first freed by prompting the user to save or revert any pending changes, then automatically closing all editor windows. If a lock is held by another session, the restore fails and Change Manager rolls back any changes. |
To import, the Metadata Loader must obtain a lock on all the primary objects. If a necessary lock is not available, the import fails and the Metadata Loader rolls back any changes. |
|
Compare |
You can compare snapshots by starting a command in the user interface. |
You can compare MDL files by using a third-party |
When using snapshots, you can backup and restore your metadata, maintain a history of metadata changes, and compare different versions of the metadata.
A snapshot captures all the metadata information about the selected objects and their relationships at a particular instance of time. While an object can only have one current definition in a workspace, it can have multiple snapshots that describe its changing states throughout its history. Oracle Warehouse Builder supports the following types of snapshots:
Full snapshots provide backup and restore functionality.
Signature snapshots provide historical records for comparison.
Snapshots are stored in Oracle Database. Contrast this with Metadata Loader exports, which are stored as separate disk files. You can export snapshots to disk files.
Snapshots are useful for both warehouse managers and designers. Managers can use full snapshots to perform large-scale actions, such as deploying a warehouse or restoring a warehouse to an earlier state. Designers can create full snapshots of a particular component under development so that, if necessary, they can restore that component to its previous state. Designers can also use signature snapshots to track the changes made to a particular component.
When used with other features, such as MDL metadata imports and impact analyses, snapshots help you manage the metadata. For example, you can use snapshots to determine the impact an MDL metadata import has on the current metadata workspace. With the knowledge gained by the comparison, you may choose to import the metadata at a lower level of detail to avoid overwriting the definition of related metadata objects.
Snapshots are also used to support the recycle bin, providing the information necessary to restore a deleted metadata object.
The rest of this section describes the metadata change management feature using the graphical user interface. For information about creating and managing snapshots using scripts, see Oracle Warehouse Builder API and Scripting Reference.
When you take a snapshot, you capture the metadata of all or specific objects in your workspace at a given point in time. You can use a snapshot to detect and report changes in your metadata.
You can create snapshots of any first class objects, except for automatic default objects, and User or Role objects. Use Create Snapshot wizard to create snapshots.
A snapshot of a collection is a snapshot of both the shortcuts in the collection and the actual objects. The same applies to a snapshot of a user folder, because it includes references (which are similar to shortcuts) to both contained and actual objects.
In the Project Navigator, select all the objects to include in the snapshot.
You must not select parent or child objects, because the wizard does that for you.
For example, if you select a collection that contains two cubes, then the snapshot includes both cubes and any gives you the option to include any dependent objects such as dimensions and source tables.
You must select actual objects or user folders, not the standard folders that contain them.
Right-click the selected object, then select Snapshot, then select New.
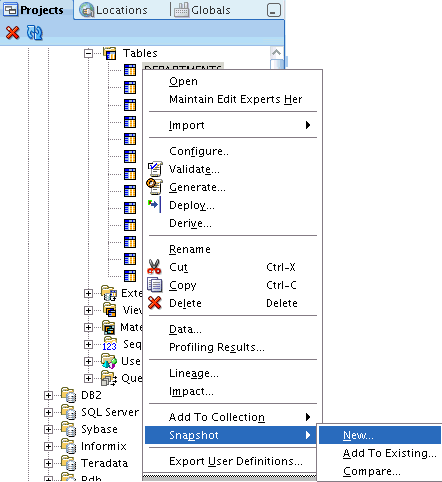
Alternatively, from the File menu, select Snapshot, then select New.
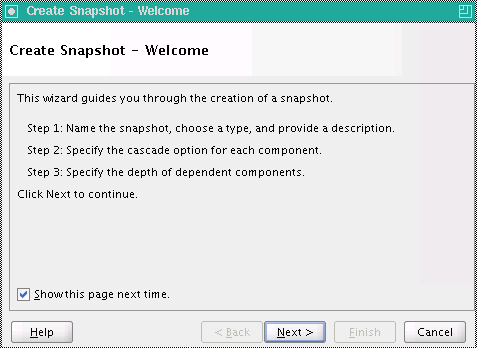
On the Welcome screen, click Next.
You can get supporting information at any time by clicking Help.
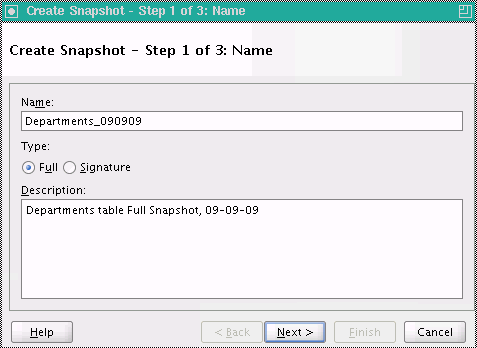
On the Name page, specify the Name and the Type (Full or Signature) of the snapshot.
Click Next.
[Optional] Provide a Description.
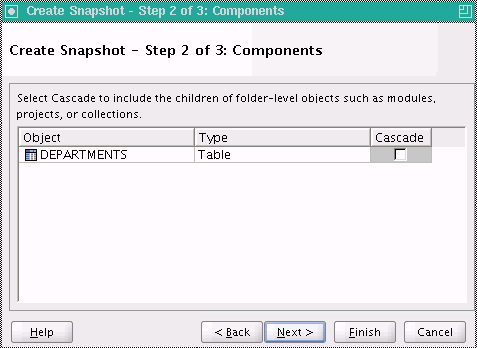
On the Components screen, choose whether to select the Cascade option.
Click Next.
This screen displays the components that are captured in the snapshot. If a component is a node-level object, such as a module, then select the Cascade option to include the subcomponents.
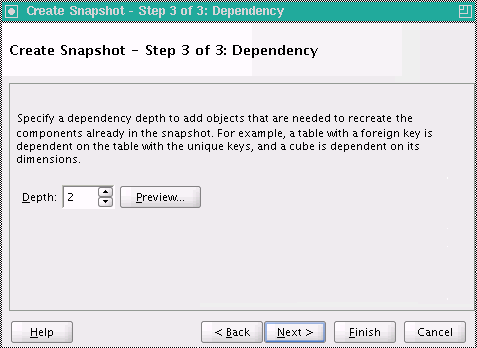
On the Dependency screen, specify the Depth of dependency to include dependent objects in the snapshot.
Click Next.
Because it impacts performance, avoid specifying unnecessarily large values for depth. For example, supplying a depth value greater than 0 for a Project snapshot searches Globals for dependencies.
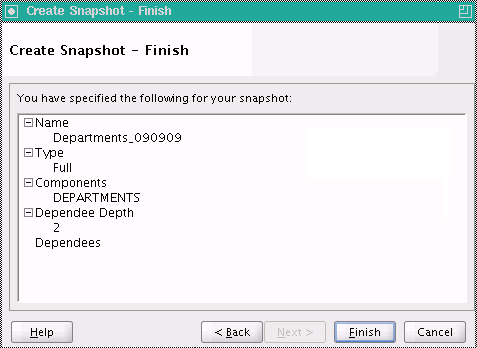
On the Finish screen, review the characteristics of the snapshot.
Click Finish to create the snapshot.
The system starts creating the snapshot; notice the Create Snapshot Progress pop-up.
When the snapshot is complete, an Oracle Warehouse Builder Note screen appears, stating "Snapshot created successfully."
Click OK.
After you create a snapshot, you can add more components. Keep in mind, however, that when you add components, you are changing the historical record provided by the snapshot, so its creation date changes.
To update a snapshot, use the Add to Snapshot wizard.
To add new components to the snapshot:
In the Design Center Project Navigator, select all the components you want to add to the snapshot.
For example, you can select tables, mappings, and dimensions from an Oracle module.
Right-click and select Snapshot, then select Add to Existing.
Alternatively, from the File menu, select Snapshot, then select Add to Existing.
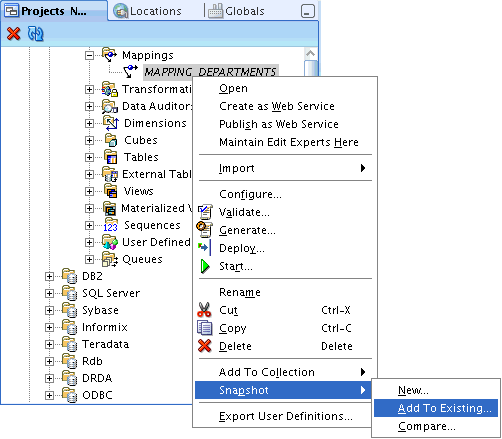
The Add to Snapshot wizard appears.
On the Welcome screen, click Next.
You can get supporting information at any time by clicking Help.
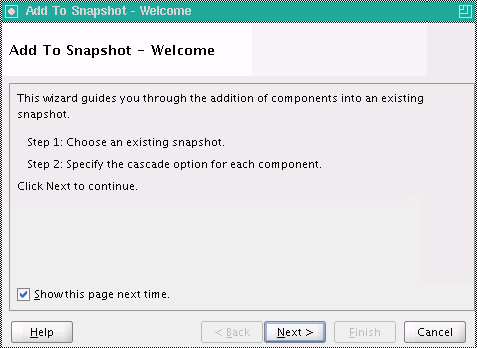
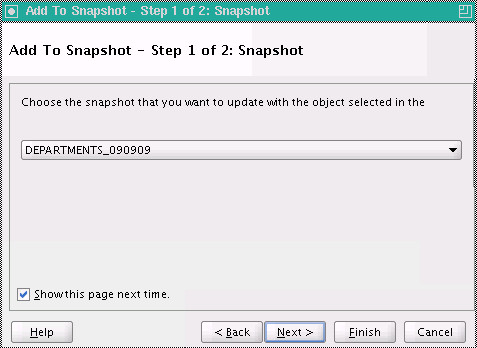
On the Snapshot screen, from the list of snapshots, select the snapshot where to add the components.
Click Next.
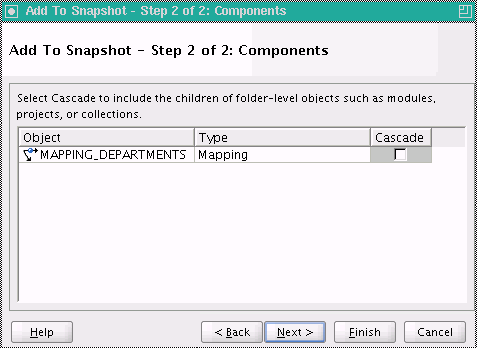
On the Components screen, note all the components that are added to the snapshot. If a component is a folder level object, such as a module, then select the Cascade option to include its subcomponents.
Click Next.
On the Finish screen, review the characteristics of the snapshot.
Click Finish to update the snapshot.
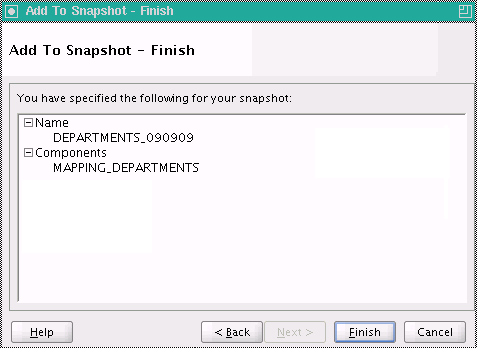
The system starts updating the snapshot; notice the Update Snapshot Progress pop-up.
When the snapshot is complete, an Oracle Warehouse Builder Note screen appears, stating "Snapshot updated successfully."
Click OK.
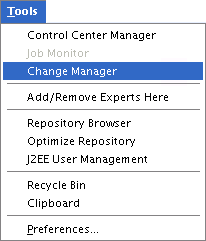
You can manage your snapshots from the Metadata Change Management window in the Design Center. To open this window, select Change Manager from the Tools menu.
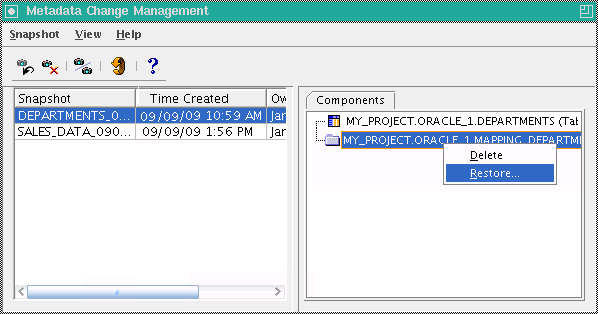
The Metadata Change Management window contains a menu bar and a toolbar. You can start most tasks in several different ways, either by using the menus, clicking the tools, or right-clicking a snapshot or a component.
Metadata Change Management window supports the following activities:
Figure 11-1 shows the Metadata Change Management window.
Figure 11-1 Metadata Change Management Window
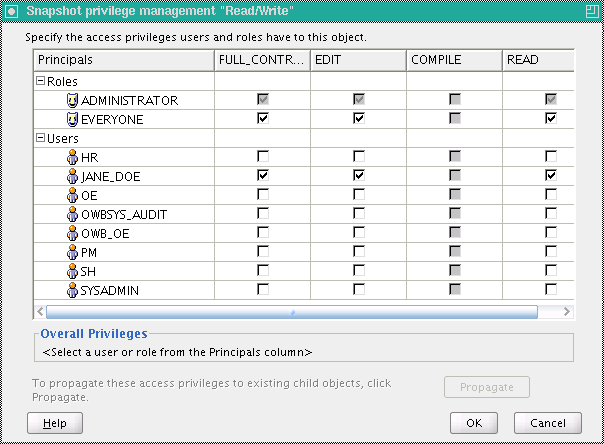
You can control access to snapshots just like any other object. By default, everyone has full access rights to the snapshots.
To change snapshot access privileges:
In the left section of the Metadata Change Management window, right-click the name of the snapshot.
From the menu, select Security.

The Snapshot Privilege Management dialog box is displayed.
On the Snapshot Privilege Management screen, for each user or role, select the privileges to grant and clear the privileges to deny.
Click Help for additional information.
You can compare two snapshots, or a snapshot with a current workspace object. The results of a comparison list all objects as one of:
Identical objects appearing in both snapshots
An object appearing in only one snapshot
Similar objects appearing in both snapshots, with different property values
If you take a snapshot of an object that has a child object, and that child object subsequently changes, a comparison shows that the parent object has changed. For example, if you create a Cascade snapshot of a project, all the modules in that project are its children. If any of the modules change, a comparison of the snapshot to the workspace shows that the project has changed.
The Metadata Change Manager uses Universal Object Identifiers (UOIDs) as the basis for all comparisons. When you delete an object and re-create it with the same metadata, the object has a different UOID although it may be identical to the deleted object in all other aspects. When you compare the re-created object to its original version, the results show that all the metadata has changed. Likewise, objects do not match if they have been deleted and re-created during an import or Intelligence Object derivation.
A temporary signature snapshot of the current workspace object is taken automatically; this increases the comparison time. If you are planning to make multiple comparisons to the same current workspace object, Oracle recommends that you take a signature snapshot and use it directly in snapshot-to-snapshot comparisons.
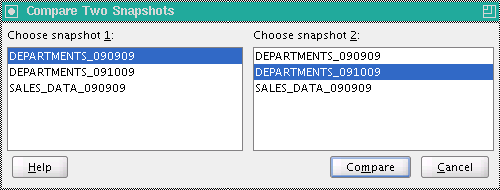
On the Metadata Change Management screen, select two snapshots for comparison.
Right-click the selected snapshots, and select Compare.
Alternatively, from the Snapshot menu, select Compare.

The Compare Two Snapshots screen appears.
On the Compare Two Snapshots screen, ensure that the correct snapshots are selected, and click Compare.
[Optional] Click Help for additional information.
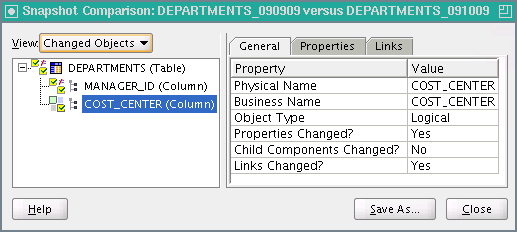
The Snapshot Comparison screen appears.
The Snapshot Comparison screen displays the differences between the two snapshots. By selecting changed objects you can see the details of the changes.
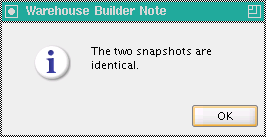
If there are no differences between snapshots, an Oracle Warehouse Builder Note screen appears, stating "The two snapshots are identical."
Click OK.
[Optional] Click Save As to save the results of the comparison to an *.xml file.
Click Close.
To compare the current version of an object with a snapshot version:
From the Project Navigator, select the object for comparison.
Right-click the selected object, select Snapshot, and then select Compare.
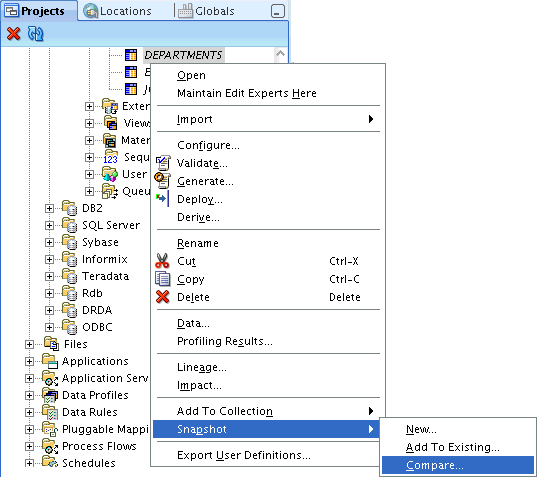
Alternatively, from the File menu, select Snapshot, and then select Compare.
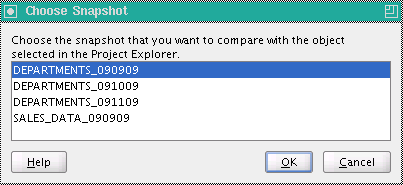
The Choose Snapshot screen appears. It only lists the snapshots that contain the object of interest.
On the Choose Snapshot screen, select the snapshot for comparison.
Click OK.
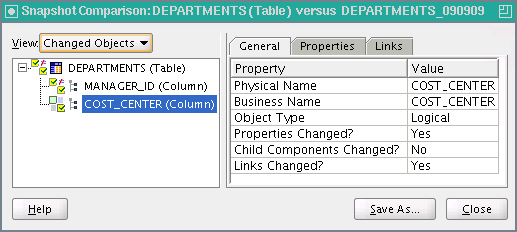
The Snapshot Comparison window displays the differences between the two objects. If there are none, then a message informs you that the objects are the same.
The Snapshot Comparison screen displays the differences between the object and the snapshot. By selecting changed objects you can see the details of the changes.
If there are no differences between snapshots, an Oracle Warehouse Builder Note screen appears, stating "The object is identical to the snapshot snapshot".
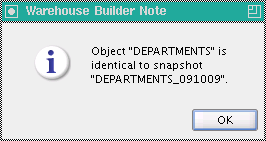
Click OK.
[Optional] Click Save As to save the results of the comparison to an *.xml file.
Click Close.
You can convert a full snapshot to a signature snapshot if it is no longer necessary for backup. This conversion preserves the snapshot history while saving a significant amount of space in the workspace.
A signature snapshot cannot be used to restore metadata objects.
Open the Metadata Change Management window, as described in "Managing Snapshots".
Select the snapshot to convert.
Right-click the selected snapshot, and select Convert to Signature.
Alternatively, from the Snapshot menu, select Convert to Signature.
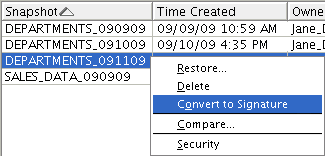
On Oracle Warehouse Builder Warning dialog box, click Yes.
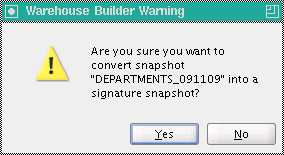
Notice that the Type of the snapshot has changed to Signature.

You can replace the current definition of an object in the workspace with the snapshot image of that object.
You can only use full snapshots; you cannot restore objects from signature snapshots.
You can restore all components or only selected components of the snapshot.
When you restore a collection from a snapshot, you restore both the collection and the actual objects.
When you restore a container, all its child objects are also restored.
To restore only the collection or selected objects within a container, use the Components tab.
To restore objects from a snapshot:
Save any work that you have done in the current session.
Open the Metadata Change Management window, as described in "Managing Snapshots".
Select the snapshot that contains the version of the objects you want to restore.
[Optional] To restore all objects, right-click the snapshot, and select Restore.
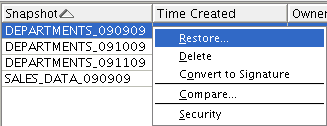
[Optional] to restore only some components, select these components in the Components tab, right-click the component, and select Restore.

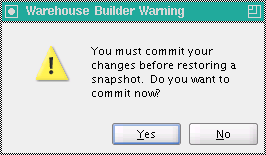
[Optional] If the most recent changes to the object have not been committed, an Oracle Warehouse Builder Warning note appears, stating "You must commit your changes before restoring a snapshot. Do you want to commit now?"
Click Yes.
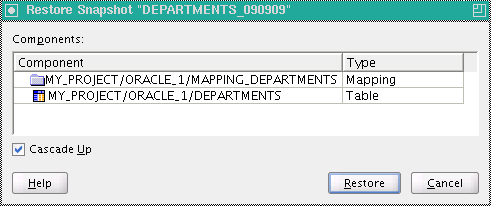
On the Restore Snapshot screen, review the objects in the list and verify that the correct objects are restored. If you
Select Cascade Up. This ensures that any components whose parents no longer exist in the workspace are restored with new parent objects.
Click Restore.
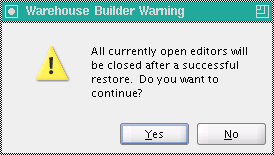
An Oracle Warehouse Builder Warning note appears, stating "All currently open editors will be closed after a successful restore. Do you want to continue?"
Click Yes.
The system starts restoring the snapshot; notice the Restore Snapshot Progress pop-up.
When the snapshot is restored, an Oracle Warehouse Builder Note screen appears, stating "Snapshot restored successfully."
Click OK.
You can export a full snapshot to an MDL file and use this file to re-create metadata objects either in the same database or in a different one. You cannot export signature snapshots or individual components of a snapshot.
Open the Metadata Change Management window.
Select the full snapshot you want to export.
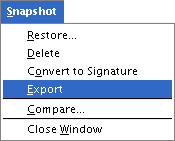
From the Snapshot menu, select Export.
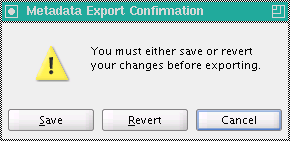
[Optional] If the most recent changes to the object have not been committed, an Oracle Warehouse Builder Warning note appears, stating "You must either save or revert your changes before exporting."
Click Save.
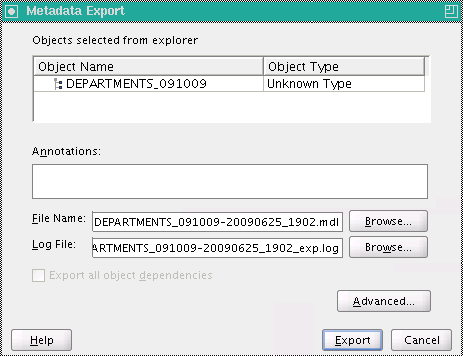
On the Metadata Export screen, do the following:
Click Browse to select the location and name of the export file (File Name).
Click Browse to select the location of the Log File.
Click Export.
The export file has an .mdl extension, and the log file has a .log extension.
[Optional] Click Help for additional information.
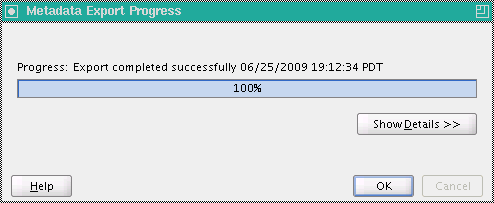
The Metadata Export Progress screen appears.
When the progress bar shows 100%, click OK.
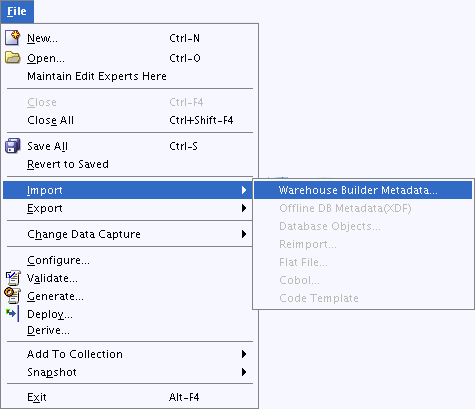
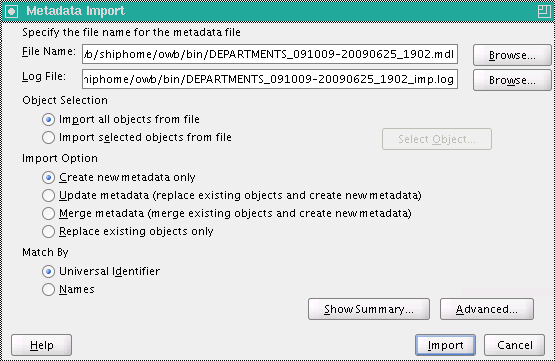
From the File menu, select Import, then select Warehouse Builder Metadata.
On the Metadata Import screen, specify the File Name of the file that is imported.
Click Import.
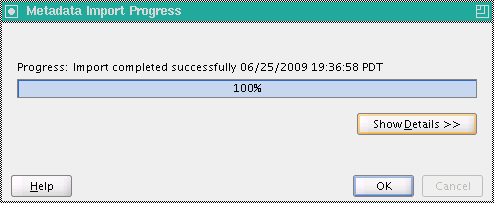
The Metadata Import Progress screen appears.
When the progress bar shows 100%, click OK.
You can delete snapshots or components within a snapshot from the Metadata Change Management window.
You cannot delete individual components of a signature snapshot.
On the Metadata Change Management screen, select the snapshot to delete.
Right-click the snapshot and select Delete.
Alternatively, from the Snapshot menu, select Delete.

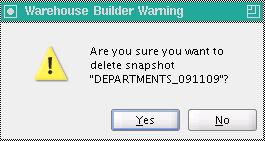
An Oracle Warehouse Builder Warning note appears, stating "You must either save or revert your changes before exporting."
Click Yes.
To delete components from a snapshot:
In the Metadata Change Management, select the snapshot from where to delete components.
On the Components tab, select the component to delete, right-click the component, then select Delete.
Alternatively, from the Snapshot menu, select Delete.

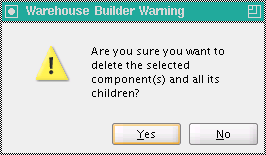
Oracle Warehouse Builder displays a delete confirmation dialog box.
Oracle Warehouse Builder Warning note appears, stating "Are you sure you want to delete the selected component(s) and all its children?"
Click Yes.
Performance of snapshot operations depends on how accurate the SQL optimizer statistics are for a small subset of tables and indexes. Because most of these in a newly created repository contain little data, it is necessary to seed and lock the statistics initially. This ensures reasonable performance for moderately sized snapshots in a lightly populated repository.
As the number and size of snapshots increases, unless accurate statistics are refreshed on a periodic basis, the performance of snapshots degrades. Although a refresh may be performed in several different ways, OMBOPTIMIZE (in OMB*Plus) or Optimize Repository (in Tools menu) should be run. Otherwise, certain tables remain locked and continue to use old, seeded statistics.